
 Français
 Español
 Products

 About Us


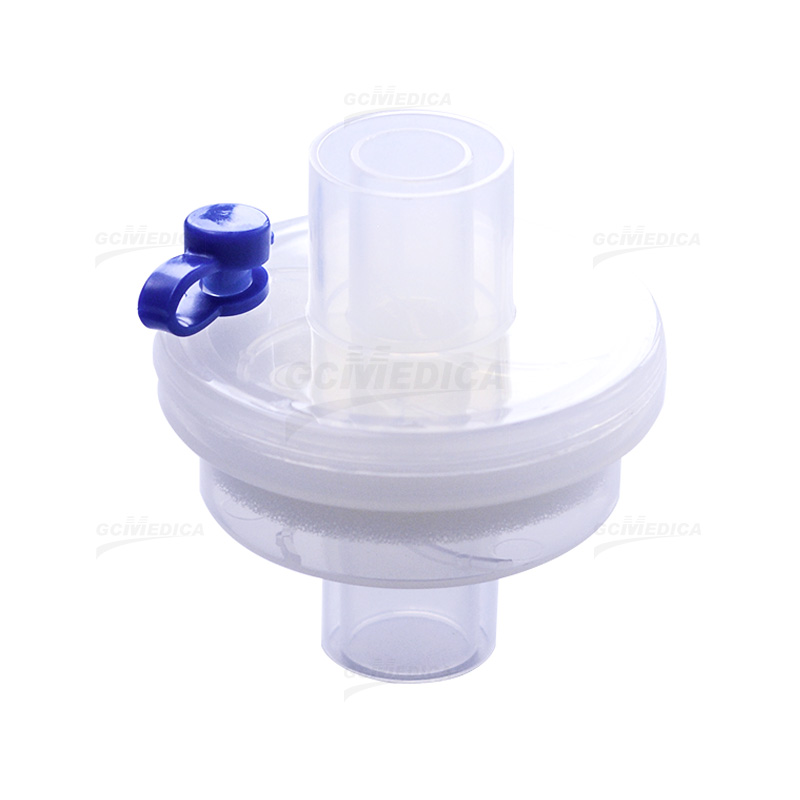
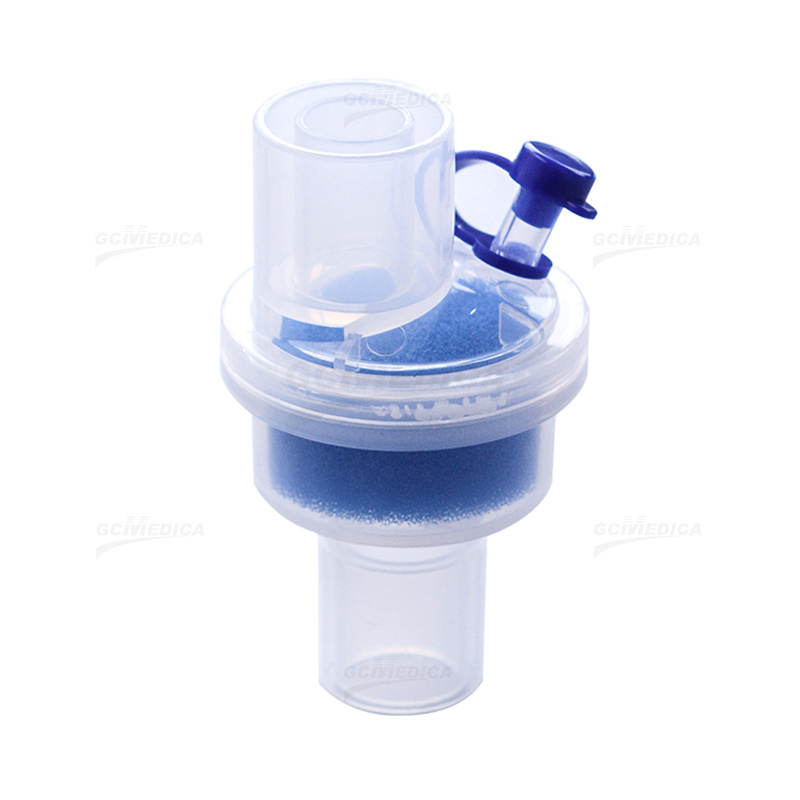
Heat–Moisture Exchange (HME) filters play a vital role in passive humidification and microbial filtration during mechanical ventilation or tracheostomy care. Proper installation is essential to ensure optimal performance—maximizing heat and moisture conservation while maintaining a secure seal and minimal resistance. The following introduction outlines key preparatory considerations and step‑by‑step guidance for clinicians and respiratory therapists.
Before beginning installation, verify the specific HME model's compatibility with the patient circuit, confirm expiration date, and inspect packaging integrity. A clean, dry work area near the ventilator or tracheostomy interface minimizes contamination risk. Personal protective equipment (PPE) including gloves and a mask should be donned to maintain aseptic technique. Ensure that the patient is hemodynamically stable and ventilator settings are either paused or on standby mode to prevent abrupt pressure changes.
Orientation of the HME is critical: many models include directional arrows indicating “in” (patient side) and “out” (ventilator side). Installing the filter backwards can compromise humidification efficiency and increase work of breathing. After attachment, the circuit should be gently pressurized, and the interface inspected for air leaks. A small leak may manifest as audible hissing or require the use of a cuff leak test if a tracheostomy tube is in place. Adjust connections or replace adapters as needed.
Once secure, slowly resume ventilation and observe the patient’s tidal volumes, airway pressures, and gas humidification. An increase in peak inspiratory pressure or a drop in delivered tidal volume may indicate excessive resistance—prompting filter replacement or circuit reconfiguration. Routine monitoring every 4–6 hours is recommended, with filter change intervals typically ranging from 24 to 72 hours, depending on moisture saturation and secretions.
The table below summarizes the installation steps, highlighting critical actions and safety checkpoints.
| Step | Action | Key Points |
|---|---|---|
| 1 | Preparation | Verify HME model, check expiration date, inspect packaging, don PPE, pause ventilation. |
| 2 | Circuit Disconnection | Clamp or pause flow; disconnect patient limb of circuit at adapter or tracheostomy port. |
| 3 | Orientation Check | Align directional arrows—“IN” to patient, “OUT” to ventilator—to ensure proper humidification. |
| 4 | HME Attachment | Firmly push HME into adapter until click or snug seal is achieved; avoid twisting motions. |
| 5 | Leak Test | Slowly pressurize circuit; listen for leaks or perform cuff leak test; tighten if necessary. |
| 6 | Functional Verification | Resume ventilation; observe tidal volume, peak pressures, and humidity levels; adjust settings if required. |
| 7 | Documentation | Record date/time of installation, filter model, and any observations in patient chart. |
| 8 | Routine Monitoring | Check filter for condensation, resistance, and contamination every 4–6 hours; plan replacement. |
By adhering to these steps, healthcare providers can ensure effective humidification, maintain mucociliary function, and reduce the risk of ventilator‑associated complications. Proper installation and vigilant monitoring of HME filters not only safeguard patient comfort but also optimize respiratory therapy outcomes.
Related products
| Heat Moisture Exchange Filter (HMEF) > |
| Eco-mini HMEF > |